
Early this year we accomplished what we thought was the undoable where we took both our parents along with our kids to Japan for about 2 weeks. Our parents saw our pictures from our 2018 trip and wanted to go. Our itinerary included flying into Tokyo for 3 nights and then taking a train to Ito for a night then to Kyoto for 4 nights then to Osaka for one night and finally back to Tokyo for 4 more nights.
I’m going to talk about how we used points to upgrade our flights to business class and to cover all our hotel stays for group of 10. I will also cover how we traveled around Japan, how to travel with two young children by using public transportation, and how to earn the most points while you’re in japan via credit card spend.
The hardest part of the trip was arranging the flights to all arrive at similar times. My in-laws, brother-in-law (BIL) and his wife all live in Los Angeles which made it a little difficult. At first we weren’t sure if my in-laws could come with us for the entire length of the trip due to cost. Eventually my wife and I decided to donate some of our Chase points to help them out. Along with my BIL’s points we were able to do it at minimal costs.
The Flight
I’m not going to focus too much on my in-law’s flights since they paid cash for economy or economy plus to Tokyo. They did take direct flights via United. My BIL flew economy plus and they said it was pretty comfortable with the extra 6 inches of leg room. My father-in-law had saved some United miles from his business travels so we helped him book his flight via points and he bought a second ticket for his wife. It was about $600 so not too bad for economy. Most LA flights land in Narita which is a lot further than Haneda so try to fly into Haneda if you can especially if you have little ones.
Using Points to Book via Japan Airlines (JAL)
I booked our flights via JAL. My parents were gracious enough to pay for our flights while I used our then SPG points (now Marriott Bonvoy) to upgrade us to business. I always emphasize how valuable SPG points were because they were transferable any airline partner without any fees. On top of that SPG gave a bonus 5,000 points for every 20,000 points transferred. Each JAL leg cost 25,000 points to upgrade from economy plus to business. I transferred 120,000 SPG points and received 150,000 JAL points. This allowed me to upgrade my parents to business round trip and the four of us to business on the return. The only catch is that you have to book an upgradable fare so we booked an upgradable economy plus fare. I think even despite paying for economy plus tickets and then using points to upgrade was still a better deal since regular JAL business costs go for $5000 each way.


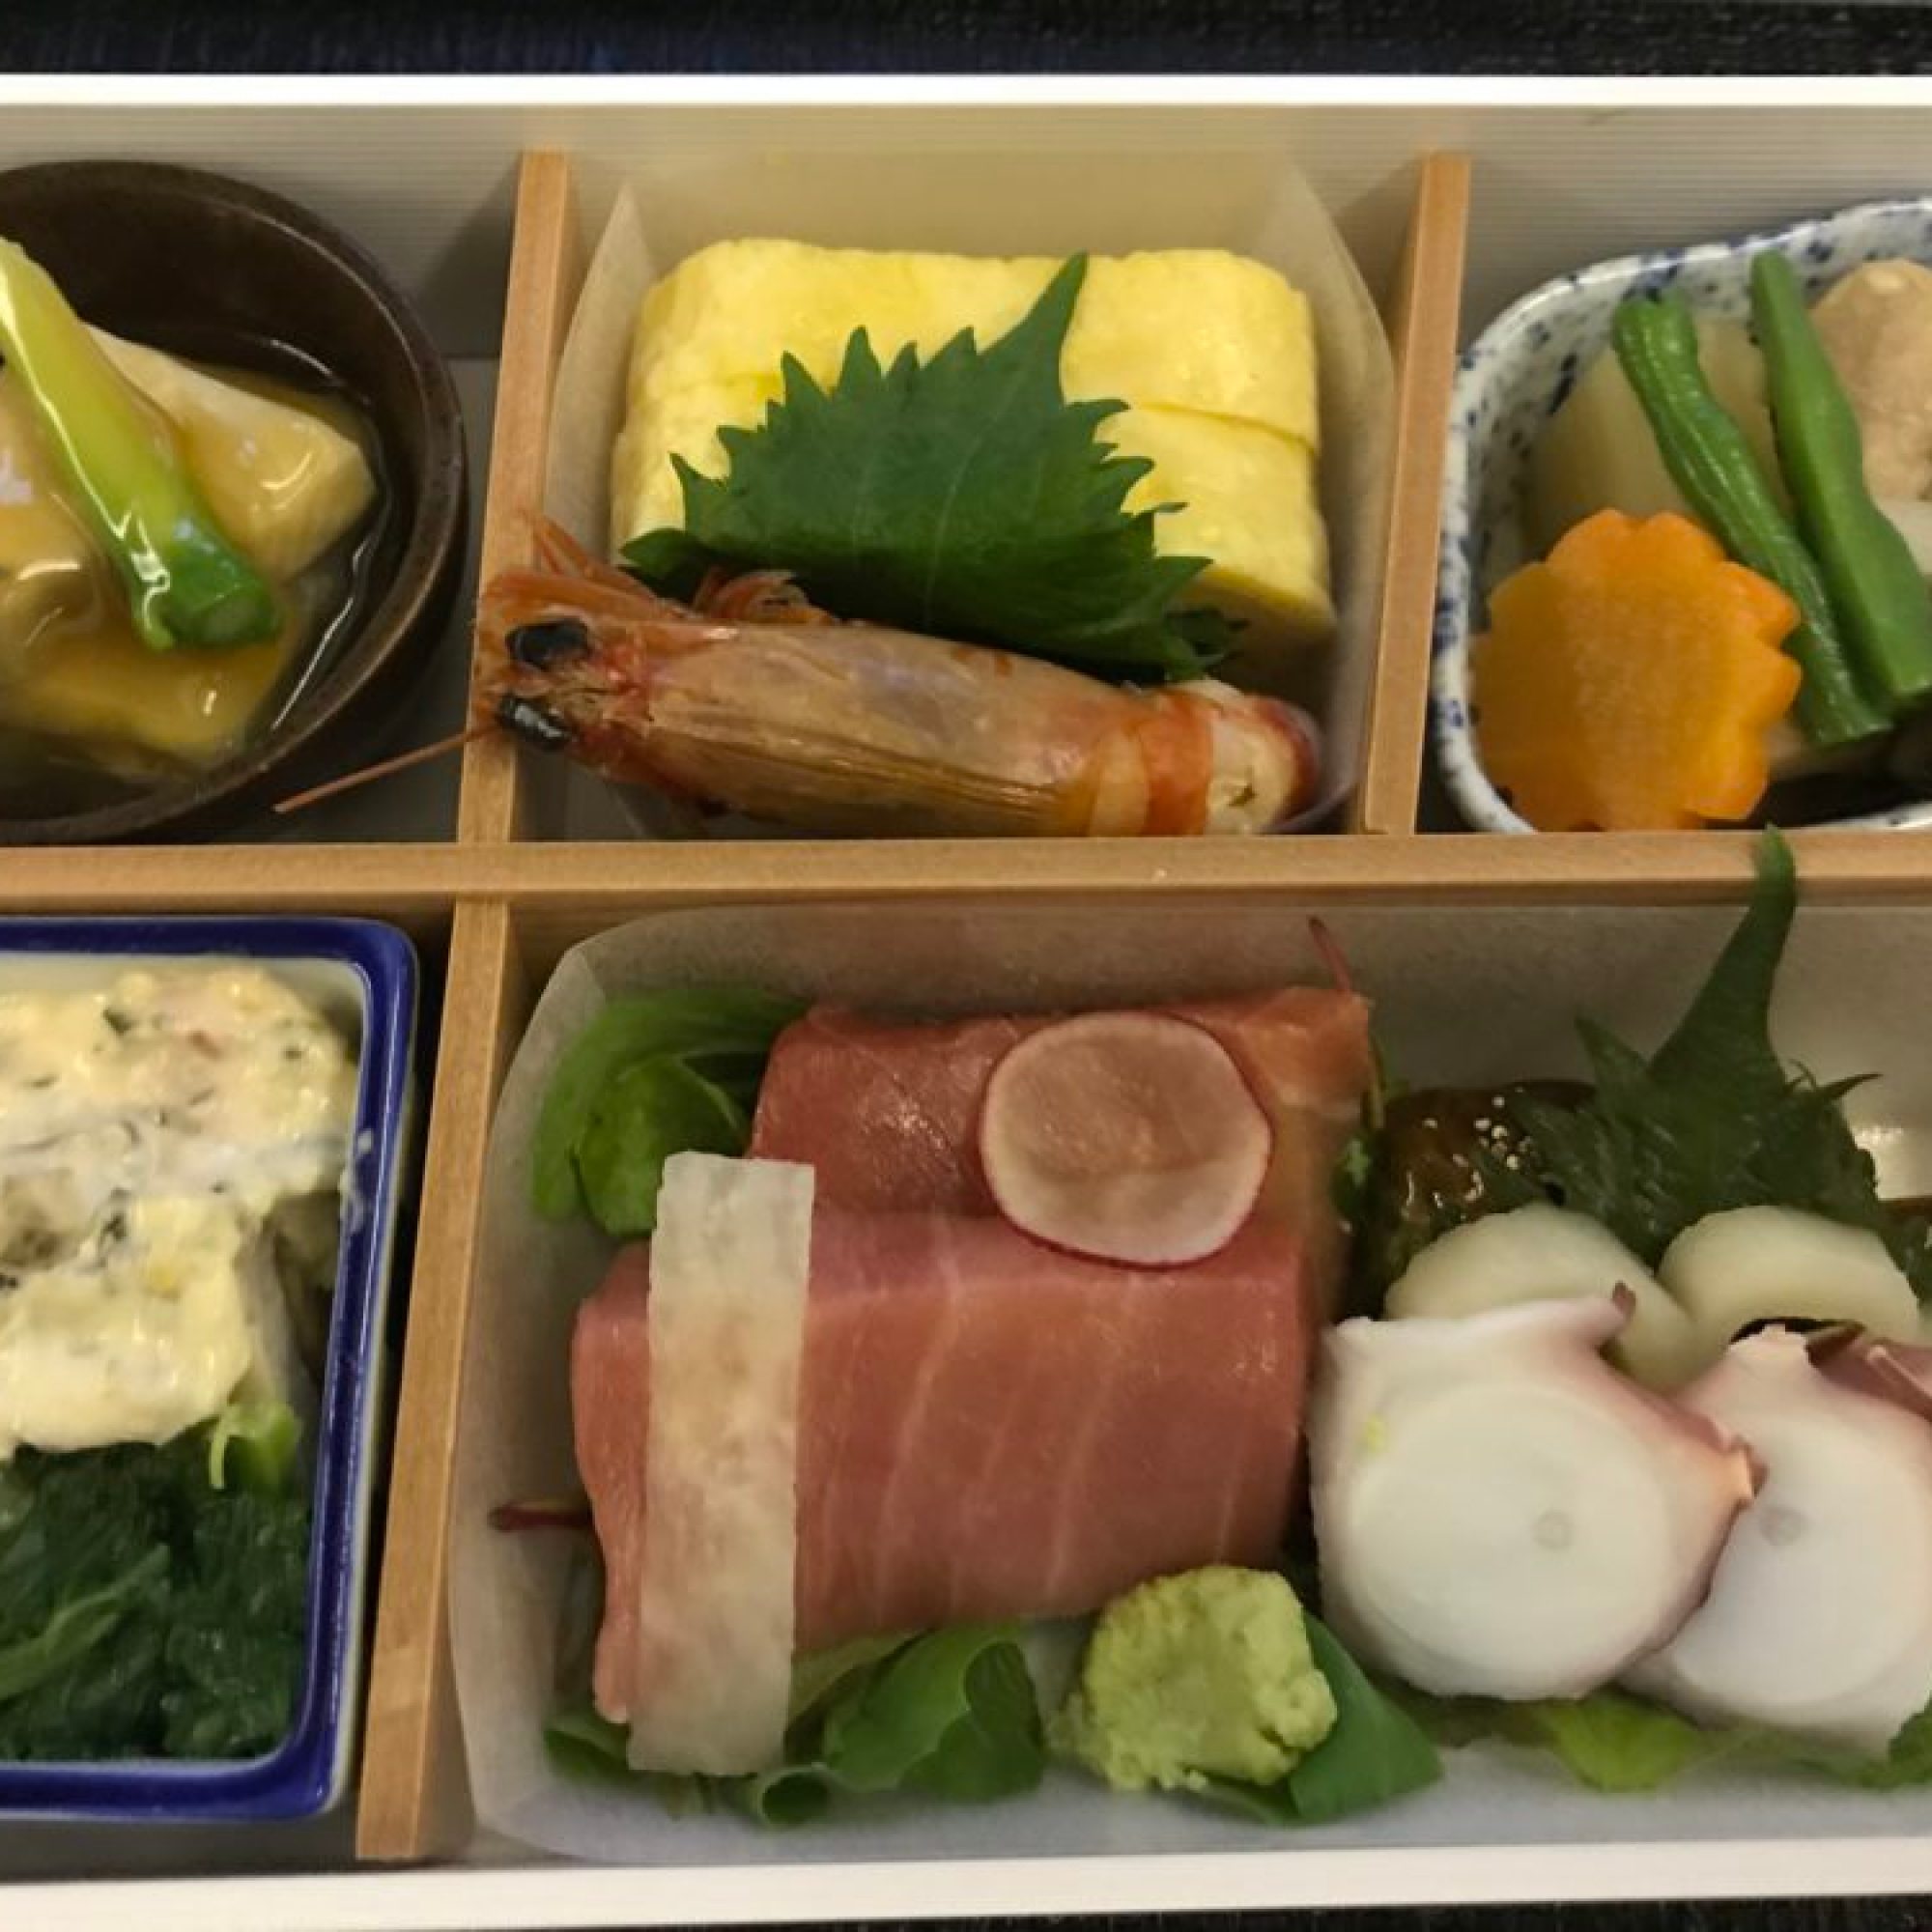
The service was good and the seats were very comfortable. The seats converted to lay flat beds which allowed both girls to sleep comfortably. The meals were pretty good too. They served sushi as an option and we ordered kids meals for the girls. Overall very comfortable and excellent service.
Park Hyatt Tokyo

I opted to stay at the Park Hyatt Tokyo mainly because of the breakfast and the amenities. Being a Hyatt Globalist grants me suite upgrades or best room available at check-in, complimentary breakfast for party of 4 up to three rooms or lounge access depending on the property, guest of honor bookings, late 4 pm check out and simply exceptional service. I emailed the hotel management ahead of time and asked for a suite upgrade for our room and upgrades to a large premium room for the other two rooms.
Points Used and Money Saved
I had to use a guest of honor for my BIL as I am only allowed to book 3 rooms under my name. Guest of Honor merely means that he gets the same benefits as me even without me being there. We booked our room using points and cash (15,000 points and $200 per night) and the other rooms cost 30,000 points per night. Since Hyatt is a Chase transfer partner we just did a quick transfer and the points were in our Hyatt account immediately. My BIL transferred his points to us via a transfer form which took about a week for the points to deposit.


The rooms would have otherwise cost about $500/night for the regular rooms and our suite was quoted at $1000/night. Chase points are valued at 2 cents per point and Hyatt points are valued at 1.8 cents per point. Even though we averaged under the the 2 cents per point it was still better than paying $4500 for the 3 other rooms for 3 nights. We got a very good value on our points for our suite! When converting Chase points you need to weigh your options and see what is more worthwhile for you. It doesn’t always have to be max value each time.


Key Benefits for Being a Globalist at a Hyatt Property
The key benefit for us was the complimentary breakfast as traveling with kids makes it so hard to feed them and then get to your destination. With the complimentary breakfast, we don’t have to worry what they’ll eat as there are so many options. It also allows us to pack some to go items for when they get hungry along the way. The Park Hyatt Tokyo has one of the best breakfast spreads I’ve ever seen at any Hyatt property. It retails for about $50-$75 per person especially if you decide to preorder the Japanese breakfast or anything off the menu as a la carte. The hotel comped all ten breakfasts for us so we saved about $500 to $750 per day. That comes out to a savings of $1500 to $2000 for the entire 3 night stay.
Aside from the fantastic breakfast, the Hyatt has many wonderful amenities such as a large swimming pool, unlimited wine and hors d’oeuvres daily from 5 to 8 pm, business center and free shuttle from the hotel to the Shinjuku train station. The latter is a big benefit considering the Park Hyatt is in the financial area by Shinjuku so it can be bit out of the way. Their website has more detail descriptions of all the perks.
Maximizing your points on EVERY purchase with Suica card and your Iphone
I think this is the best part about Japan. They are so technologically dependent that almost everyone accepts some sort apple pay or mobile wallet. Suica card is issued by JR (Japan Railway) East and is a pay-as-you-go pass for a whole host of Japanese train lines, as well as subways, bus lines and streetcars, vending machines, some convenience stores, various shops, taxis and station-area facilities like coin lockers. Suica is also coded as transportation via the Chase Reserve Card so you get 3x per dollar spent. You can rack up tons of points by just continuously to load your Suica card with your Chase Reserve Card or any card that gives you extra points under the transportation category. For more information about the Suica card please click here.
To transfer your physical Suica card to your iphone you will need the following:
- An iPhone 7 or iPhone 7 Plus purchased in Japan (model A1779 and A1785)
- An iPhone 8 or iPhone 8 Plus
- An iPhone X or later
- The latest version of iOS
- Device region set to Japan (under
- A plastic Suica, My Suica, or Commuter Suica Card
It’s quite easy to do and shouldn’t take you more than 5 minutes. Each person will need their own Suica card. For detailed instructions of how to transfer the card, Apple Support has a great link here. Once it’s set up you can switch your phone back to US region and you will be all set to just use it everywhere you go.
We used it to shop at the 7-11 shops, the mall, buy clothing, subway, taxies, etc. Don’t miss out on this important part!
Pocket Wifi
Having wifi or some sort of data plan for your phone is key in international travel in my opinion. Japan offers a lot of free wifi throughout the big cities but a more consistent option is either adding a $10/day data plan onto your phone or renting a pocket wifi and then sharing that within the group. A pocket wifi is simply a portable wifi device that allows your party to access the internet anywhere and any time. We booked our pocket wifi via the Voyagin website where they offer 30% off Ninja Wifi. For our trip we paid about $75 (8160 Yen). This is a much cheaper option than adding the $10/day data plan onto your phone since that price is per person. Voyagin also has great discounts for Robot Restaurant and other tour related activities. Be sure to check out their prices.

Pick up and return of the pocket wifi is super convenient too. If you land at Haneda, the pick up location is in the international terminal level 2. For other airports or other terminals, check out Ninja Wifi’s Website.
Japan Rail Pass
I think Japan Rail Pass is awesome especially if you’re planning to travel to different cities through Japan. There are only few small requirements that qualify you to get the Japan Rail Pass: be a non-Japanese national, enter Japan with the status ‘Temporary Visitor’ and staying less than 90 days and be visiting Japan for a touristic stay. The most important part is to buy it BEFORE you arrive in Japan and then activate it at any JR Ticket Office.
I recommend getting the Green Car seats as they are more comfortable and has more leg room. They also come with reservations priced in. You do have to go get your assign seats at the JR Office before boarding. We got a 7 day pass for about the price of Tokyo-Kyoto ticket. We didn’t buy tickets for my girls as they are both under 6 and there were a lot of empty seats so we just sat them there until someone came to claim their seats. I recommend pricing each route with the cost of the reservation and compare that to a Green Car Pass. You can buy the JR Pass here.
Things To Do in Tokyo with Kids
There is so much you can do with kids while in Tokyo. I think Tokyo is a very easy place to navigate even with kids. I recommend a light weight stroller if you have a young child who can’t walk for very long. If you have an even younger child (less than 2 years old) bring a carrier so it saves your back. We’ve done both. We took our youngest to Japan when she was barely 2 years old and then we took her again when she was almost 3.
It definitely is a work out with the kids but you just need to utilize what the Japanese has to offer. On each train or at least their newer trains, the electronic screen above each exit door displays where the elevators are once you exit the train. This way you can prepare and know where to go. Almost each exit has one set of elevators. The trick is finding it.
1. Asobono (Tokyo Dome City)

Entrance to Asobono on a rainy day 
Lockers for storage 
Map of Asobono 
Ball pit with climbing structures 
Another view of the ball pit with slides 

Scaling wall 
Large bouncy thing 
A bouncing away 
Kitchen and cooking sets 
Baby Area with rockers 
Lots of pretend veggies and fruit 
Girls making dinner 
Train set and builder block area 
Train sets 
From 2019 Trip 
From 2019 Trip 
Dipping ramen from the food court 
Dessert from the food court 
Lots of food options
The first place that I would recommend taking your kids is Asobono, an indoor kids play house at Tokyo Dome City. This place is amazing! It’s a combination of all the best bounce houses and play places that you have in your home town but its just all in one place. You’ve got your large ball pit, scaling walls, slides, bouncy house, train and builder sets, make-believe kitchen sets and toys, eating area, changing area, clean bathrooms, vending machines and large food court when you are ready to leave. The entrance fees are pretty reasonable at $10 for the first 60 minutes and then $4 for each 30 minute thereafter. Locker rentals is another small fee. We spent about 2 hours here and the girls were pretty pooped. We came here on both our trips (the pics are from our 2018 trip).
2. Disney Sea

Lots of People on the train to Disney Sea 

Ariel’s Gratto (the girls favorite) 
Carousel 


Girl’s Favorite Ride 
Ariel Show 
Various flavors of ice-cream
I say skip Disneyland Tokyo all together and just go to Disney Sea for two days. They have a two day ticket combo and you can either go to the same park or split your days between the two parks. We opted for Disney Sea since we’ve been to Disneyland so many times so we figure it won’t be too much different with the exception that it’s probably cleaner, has better food and better shows. Disney Sea was amazing! There were so many kid friendly rides that even M rode most of them.
We utilized our knowledge of the switch pass to take advantage of riding the rides multiple times. We went in April 2018 so that was around spring break for most of the schools so there were a lot of students there but I think regardless its going to be busy most of the time but it was manageable. The wait times weren’t bad at all and people are very disciplined and patient so there’s no cutting of lines and no rude behavior. Lastly be sure to check out the map and try to find all 6 different types of popcorn. My wife made be go around and try them all. My favorite was the garlic shrimp.

Getting to Tokyo Disney
It takes about an hour or so to get there from Shinjuku station. You want to get off at Maihama Station on JR (Japan Railway) Keiyo Line / Musashino Line. Maihama Station is about 15 minutes by train from Tokyo Station. Then you get off and buy a ticket for the Disney Resort Line which takes you around to all the hotels and the two parks.
3. Other Fun Things to do with Kids

Uni 
Strawberry Mochi 
Toro!! 
Fresh tuna at Tsukiji Market 
Owel Cafe 
Owl and other exotic animal cafe 
Ueno Park 
Shabuya Crossing 
Tokyo Toy Museum
We did a lot of different and fun activities with the girls on both trips so i’m going to list a few more here. Some we were able to hit up but others we will have to save for next time.
- Tsukiji Fish Market (Old Market)
- Toyosu Fish Market (New Market)
- Shabuya Station/Crossing
- Tokyo Toy Museum
- Meiji Jingu
- Yoyogi Park
- Ueno Zoo
- Fire Museum
- Museum of Emerging Science and Innovation
- Museum of Maritime Science
- Legoland Discovery Center
- Tokyo Tower
- National Museum of Nature and Science
- KidZania
- Sunshine City Aquarium
- Imperial Palace & Gardens
- Tokyo Skytree
- Cup of Noodles Museum in Yokohama
- Sensoji Temple
- Owl Cafe by Sensoji Temple
- Hedgehog Cafe by Shabuya
Playgrounds in Tokyo

- Robot Park in Roppongi Hills
- Ueno Park
- Park by Sensoji Temple
Kid Friendly Restaurants and Places to Eat
To come in another post…
